Extending your First Test
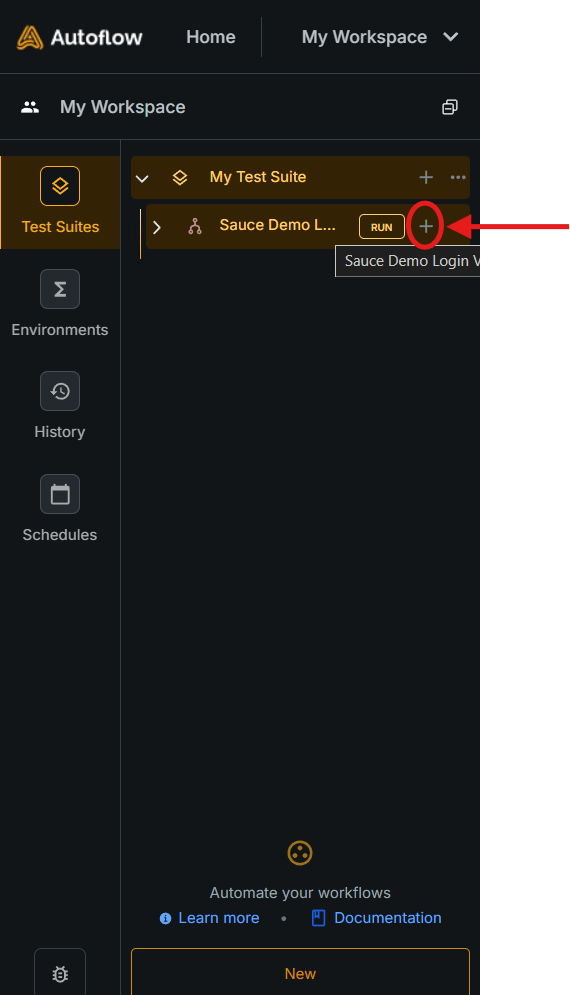
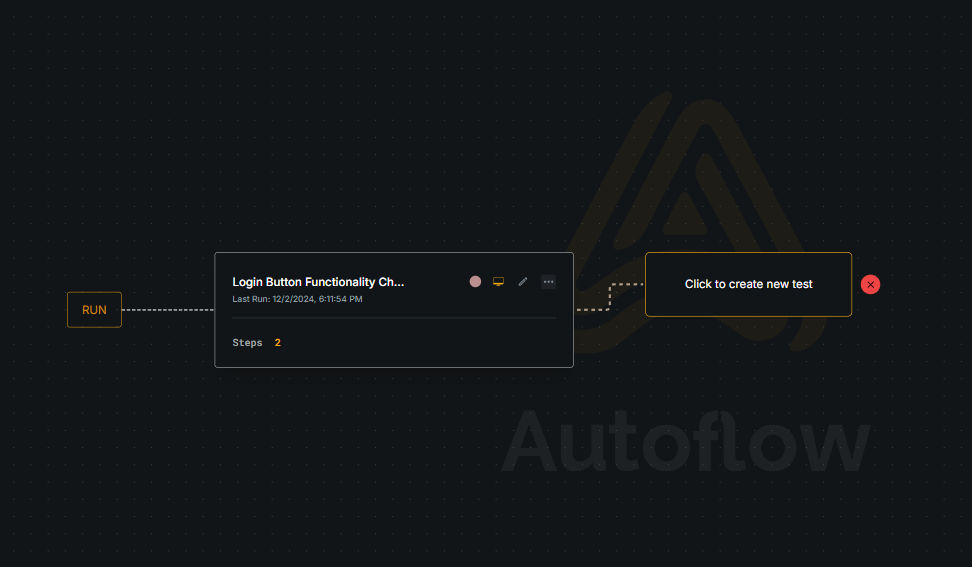
- Click on the + button on the sidebar, or click and drag the handle on the right of your newly created test node.

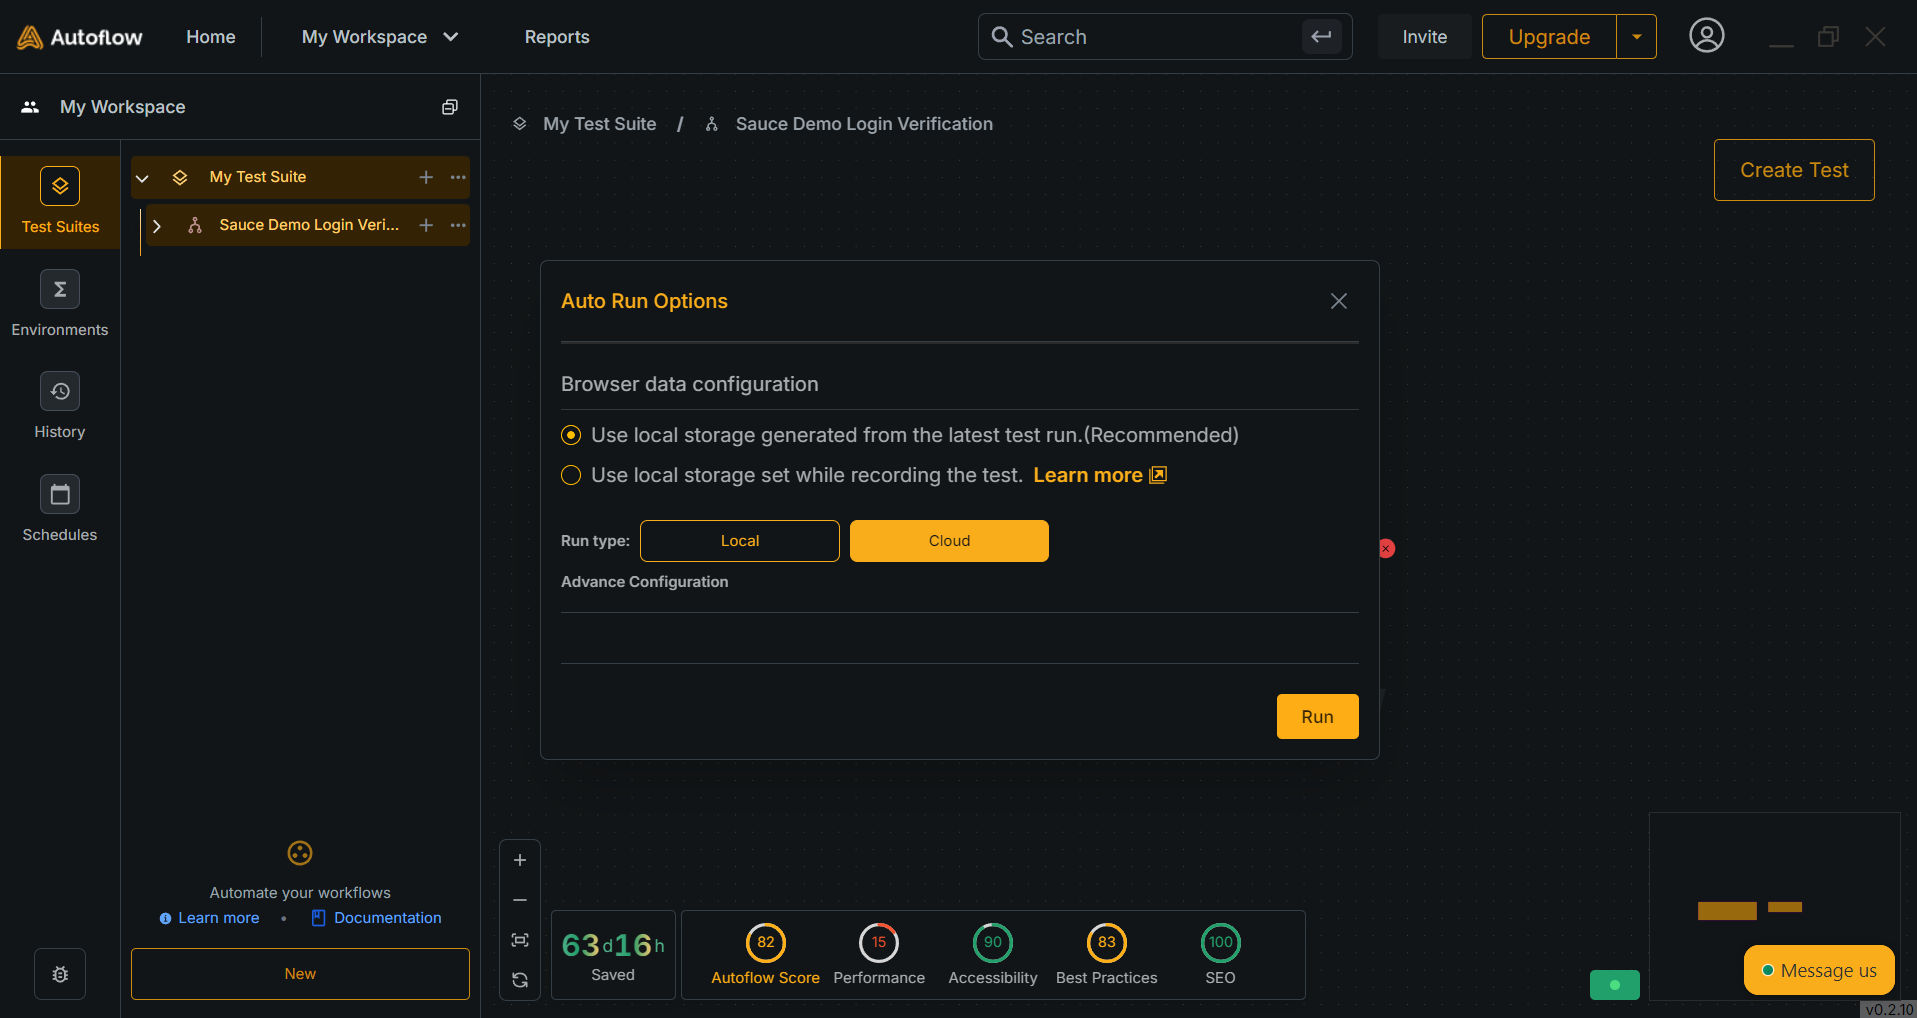
- You’ll observe a ‘Auto Run modal’ pop up. Customize settings and click on ‘Run’ button. When you click on ‘Run’, AutoFlow Studio will run the previous test to take you to the latest browser state so that you can continue your user journey.
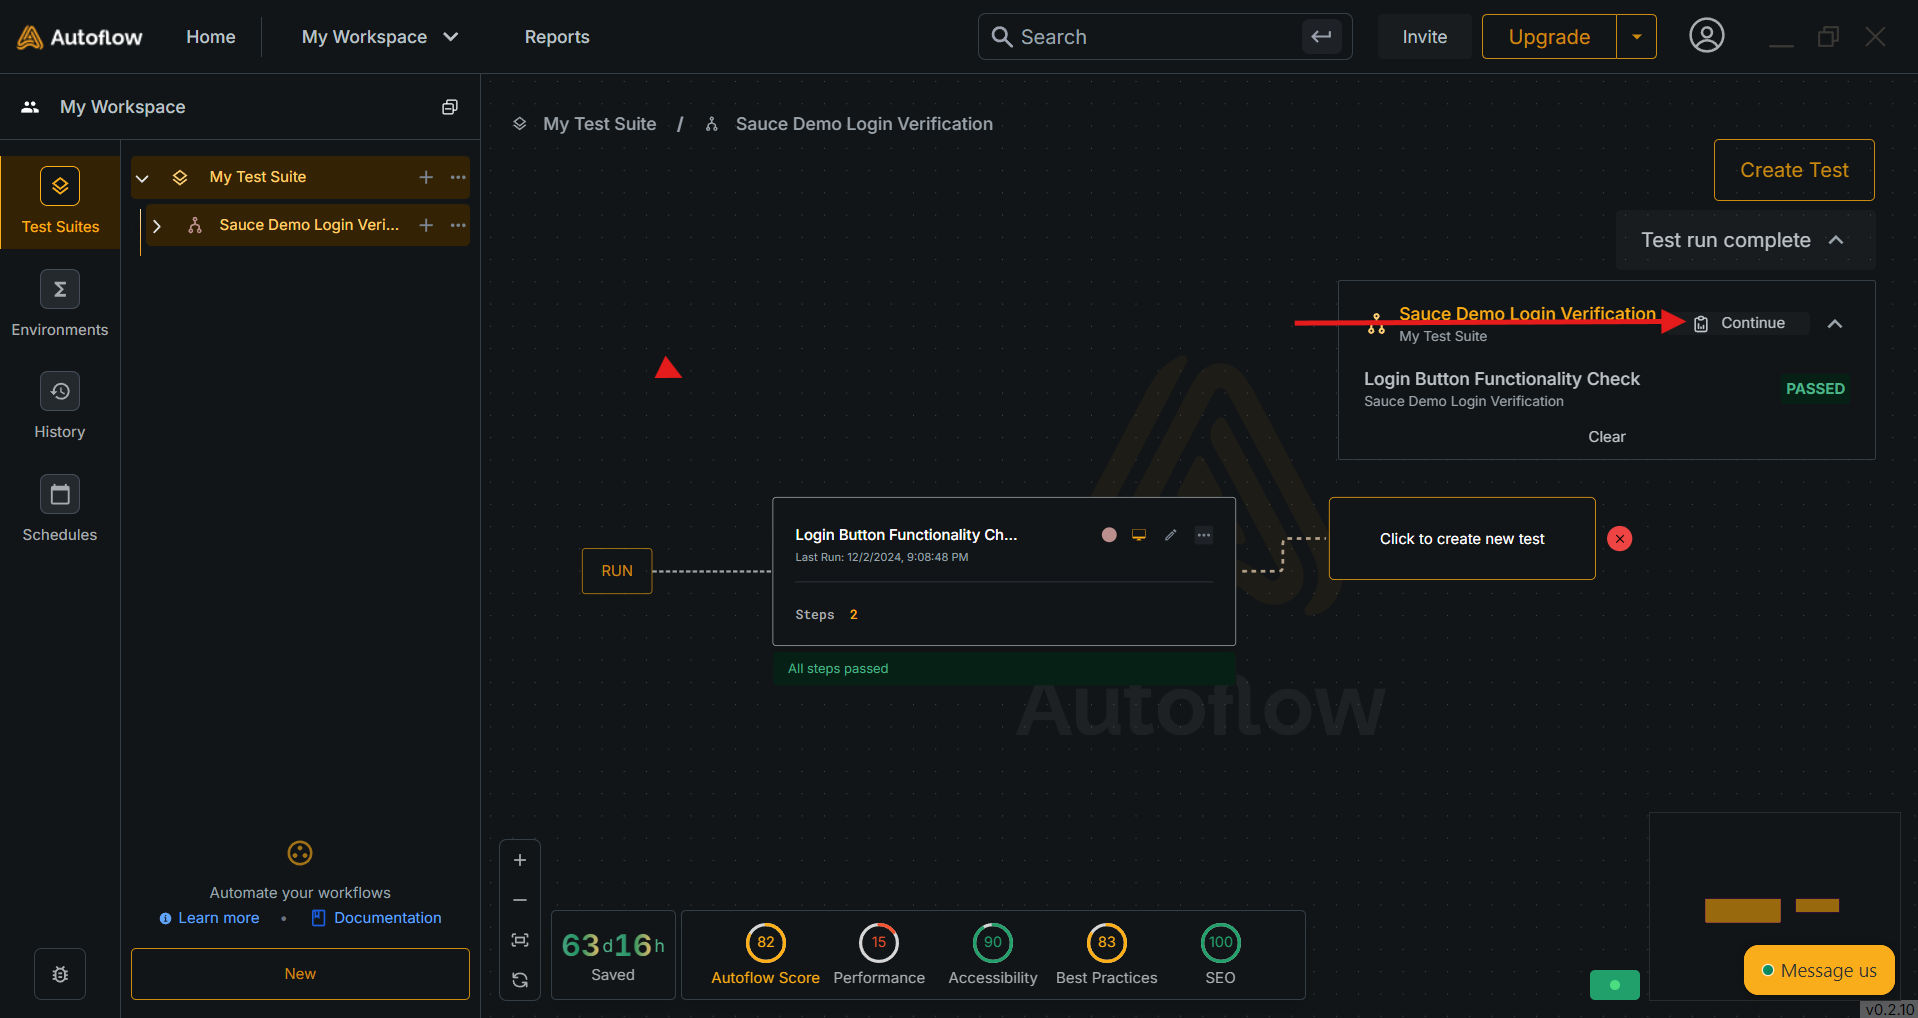
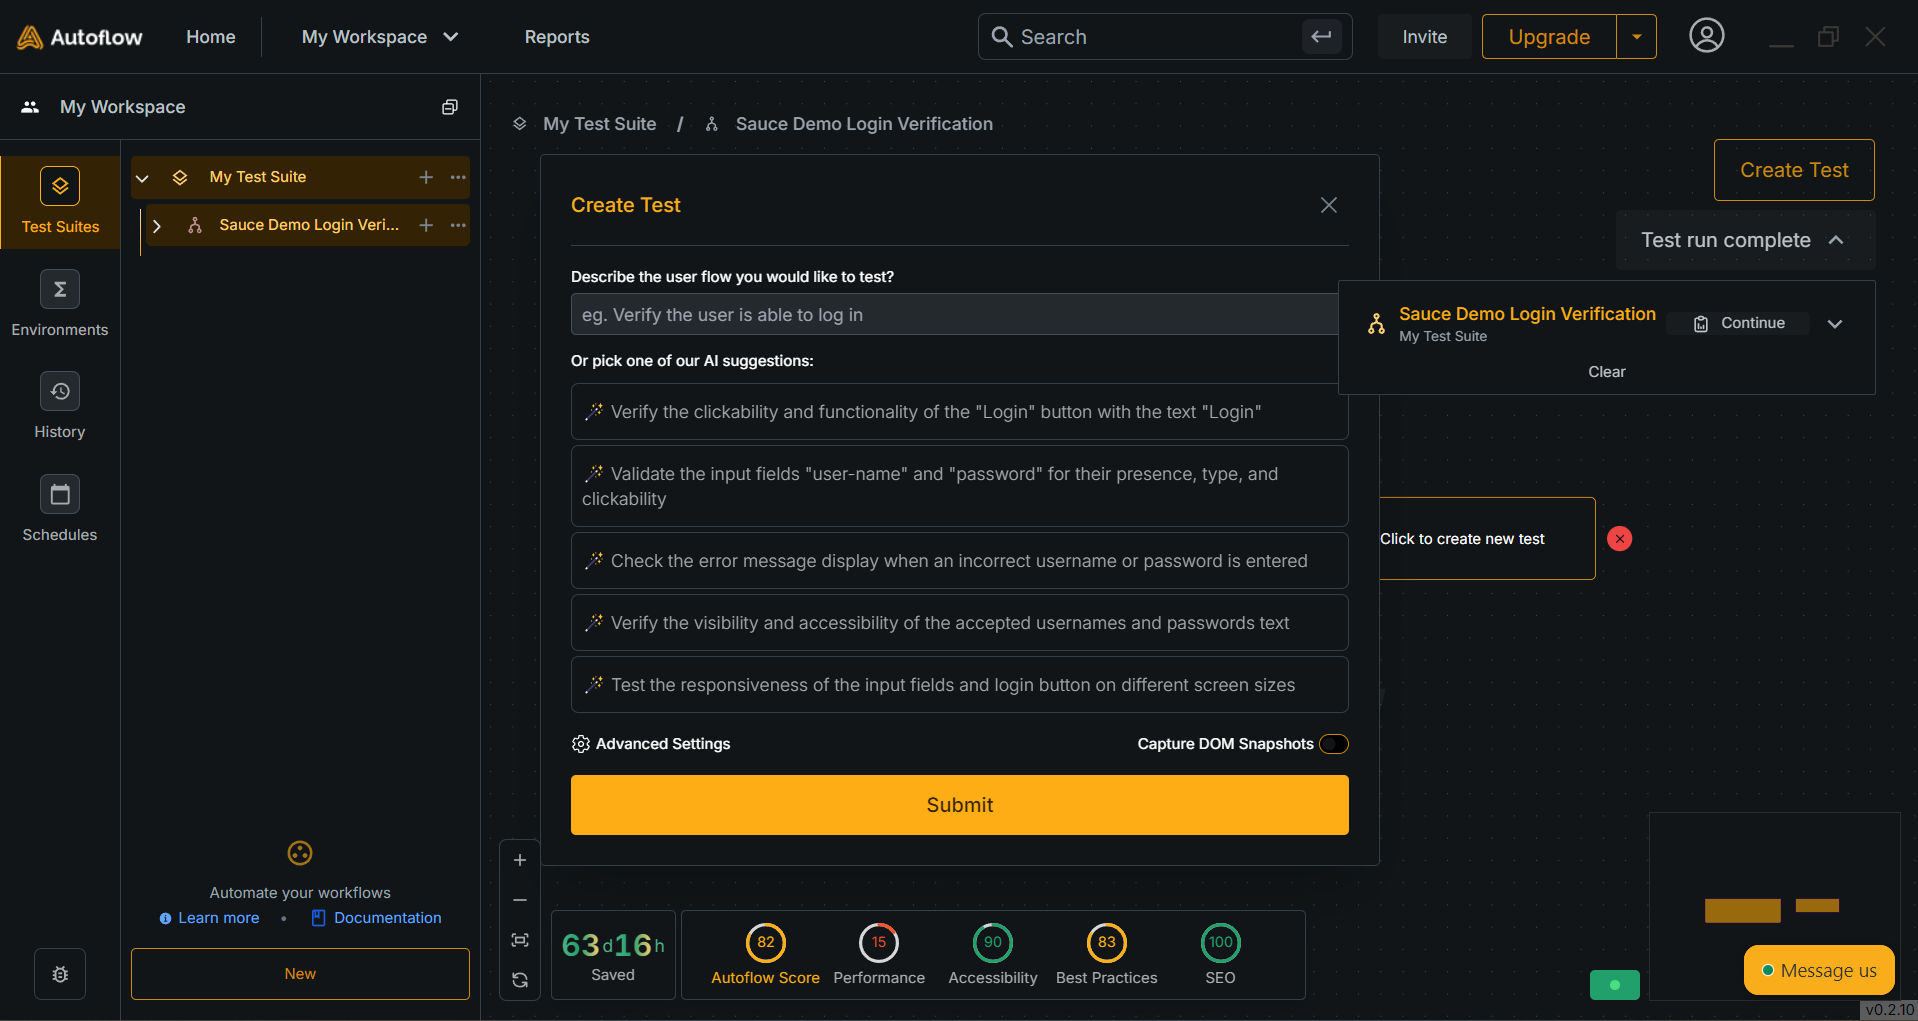
- Once the previous test has ran successfully. Click on ‘Continue’ button in the ‘Run Card’ on the top right of the screen.
- You’ll be asked to enter the intent of your second test in the user journey.
- The recorder will begin from the last state and URL of your previous test. You can continue recording your test from here.

- Click on ‘Save’ button once you’ve recorded the test.


