Installing AutoFlow Studio on Windows
Follow the instructions below to Install AutoFlow Studio on Windows
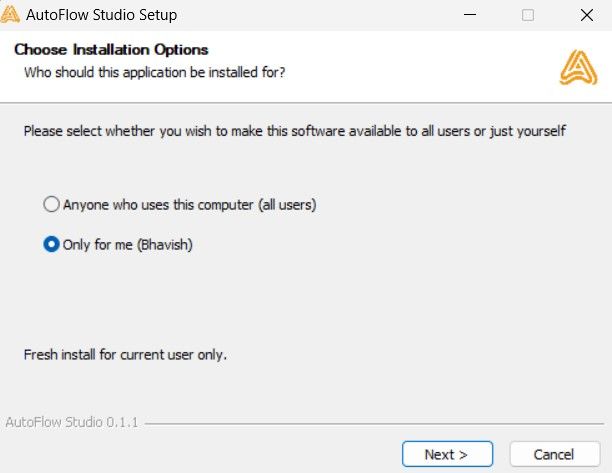
1. Click on the AutoFlow Studio .EXE file.
Important: Always install AutoFlow Studio for a single user and not for all users.

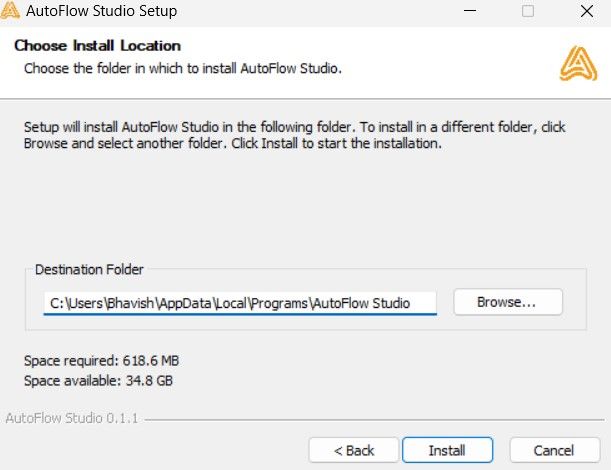
2. Choose the path.
Choose the path where you want to install the application.

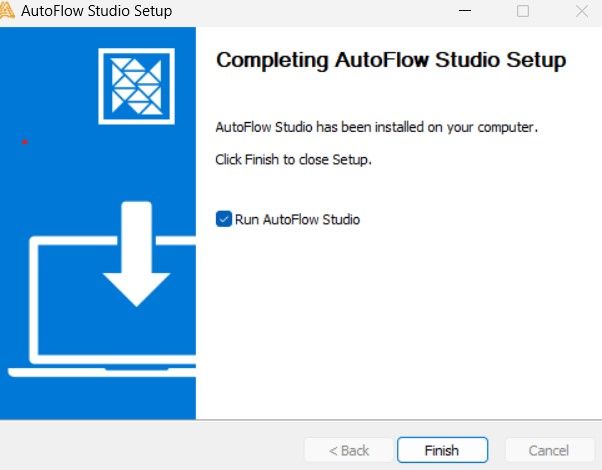
3. Once the setup is complete, click on ‘Finish’.
Once the setup is complete, click on ‘Finish’ and AutoFlow Studio will open up.

Installing AutoFlow Studio on MacOS
Installing AutoFlow Studio on MacOS is super easy! Follow the instructions below to get started:
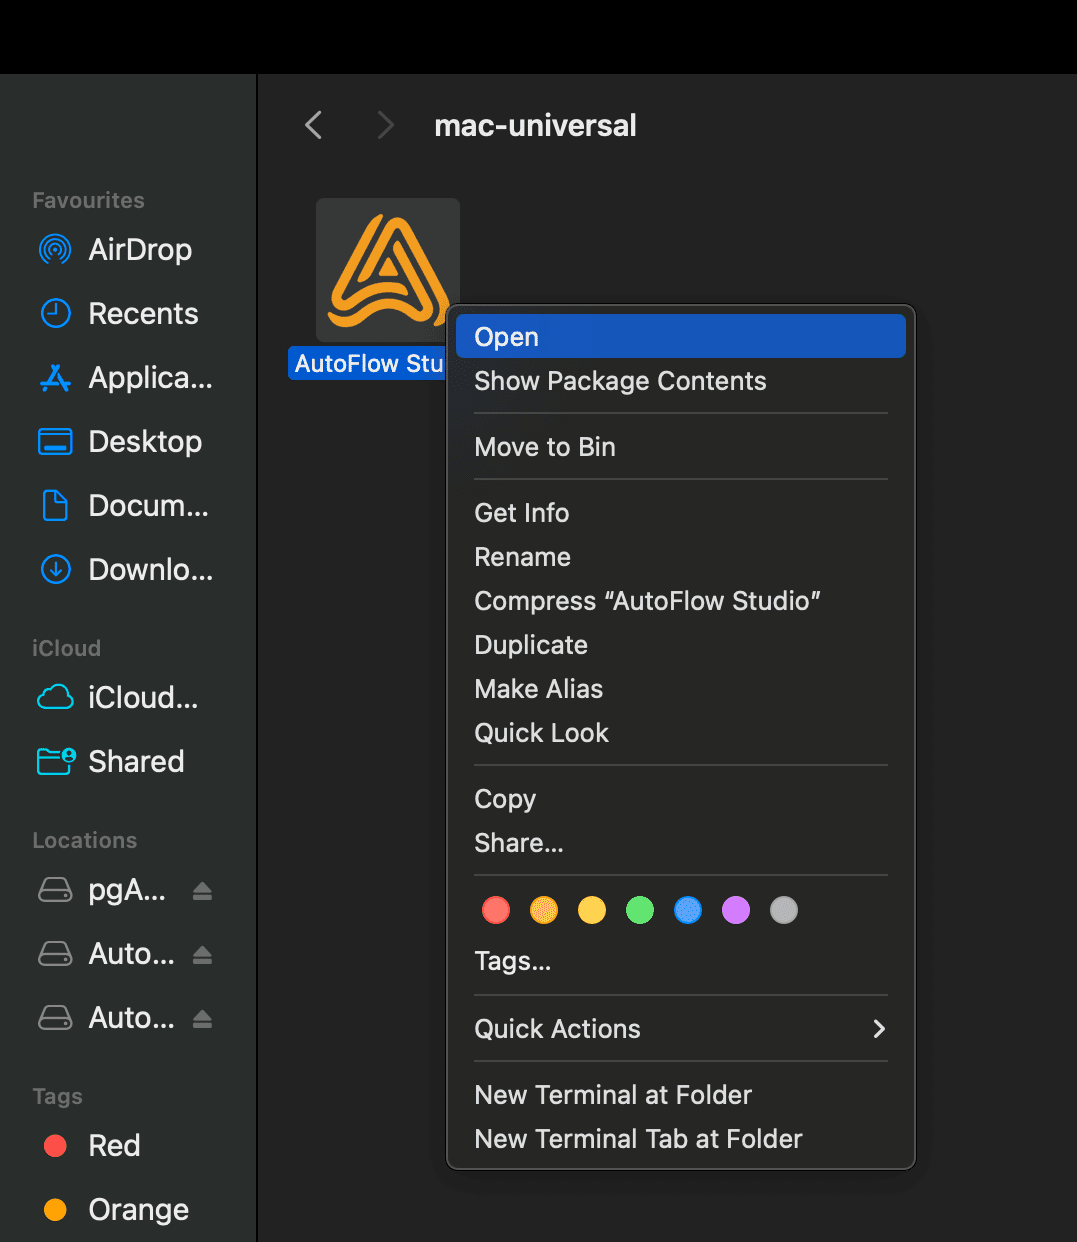
1. Right click on the downloaded DMG file
Right click on the newly downloaded DMG file and click on ‘Open’.

2. Just like a regular MacOS app, drag and drop the application to your application folder as shown in the image

3. Install Local Run Support (Optional)
After installing AutoFlow Studio, you’ll need to manually add a browser dependency.
-
Download the browser dependency zip file by clicking the following link: pw-browsers
-
Once the download is complete, extract the contents of the zip file. This will create a folder named pw-browsers.
-
Open Finder and go to Applications.
-
Locate the AutoFlow Studio app.
-
Right-click on the AutoFlow Studio app and select Show Package Contents.
-
Navigate to the following path inside the app:
Contents → Resources
-
Copy the pw-browsers folder you downloaded and paste it into the Resources folder.
MacOS: Important Note for Application Updates
If you update AutoFlow Studio by clicking on Download Update when prompted, you will need to repeat the above steps to manually add the pw-browsers folder to the Resources folder again after reinstalling the app.
This guide should cover the entire process for installing the application and handling the browser dependency.
Installing AutoFlow Studio on Linux
Follow the instructions below to install AutoFlow Studio on your linux machine.
This guide provides detailed steps to extract, set up, and run the AutoFlow Studio AppImage on a Linux operating system.
Prerequisites
- Ensure you have the necessary permissions to execute commands with
sudo.
- Make sure you have
AppImage support on your Linux distribution.
Steps to Run AutoFlow Studio
-
Make the AppImage Executable
Open your terminal and navigate to the directory where the AppImage file is located. Then, run the following command to make the AppImage executable:
chmod +x AutoFlow+Studio-0.1.29.AppImage
-
Extract the AppImage
./AutoFlow+Studio-0.1.29.AppImage --appimage-extract
-
Change Directory to squashfs-root
-
Set Up chrome-sandbox
Change the ownership and permissions of the chrome-sandbox file to ensure it can be executed with elevated privileges:
sudo chown root:root chrome-sandbox
sudo chmod 4755 chrome-sandbox
-
Run AutoFlow Studio
You have two options to run AutoFlow Studio:
• Via Terminal:
Execute the AppRun script to start AutoFlow Studio:
• Via File Manager:
Navigate to the squashfs-root directory and double-click on AutoFlow Studio to run the application or you can just double click on the
AutoFlow+Studio-0.1.29.AppImage (downloaded file) after following steps 1-5.


